

How To Set Up Facebook Pixel On Shopify
Posting on Facebook without an end-goal is like shooting an arrow into pitch dark forest and believing in a phenomenon of finding it.
Business Manager helps to rails likes, website visits, and much more.
Facebook Analytics is very similar to Google Analytics merely with Facebook Analytics you can exercise absolutely anything, including the improver of Facebook Pixelsto get a complete picture show of user interaction with your site over time.
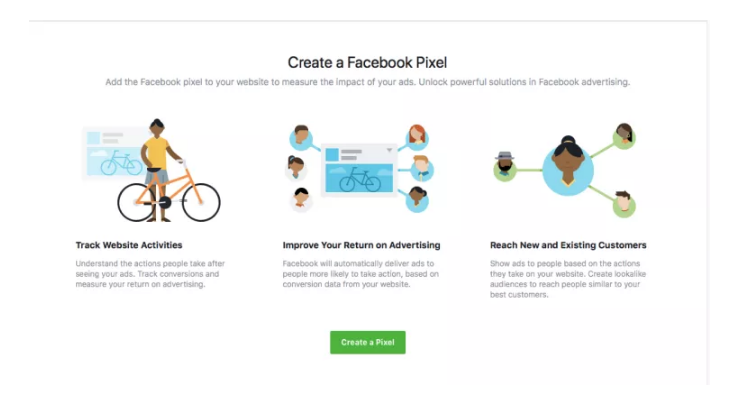
Facebook Pixel is a lawmaking that you input into your site and it volition help to rails conversions from Facebook ads.
Pixels open up a large window of opportunity for re-marketing.
When your ads get more than authentic, therefore effective, you volition run into an increase your sales in return.
You should employ Facebook Pixels even if you don't plan to annunciate right away, delight take reward of this FREE feature. This feature gives you a free and accurate information about your audience and gives you insights about your customers.
To use Facebook Pixels, kickoff y'all need to prepare a Facebook Business organization Manager and have a working site in Shopify or WordPress.
In case you need a little extra help on how to set up WooCommerce, cheque out on How to become started with WooCommerce in WordPress.
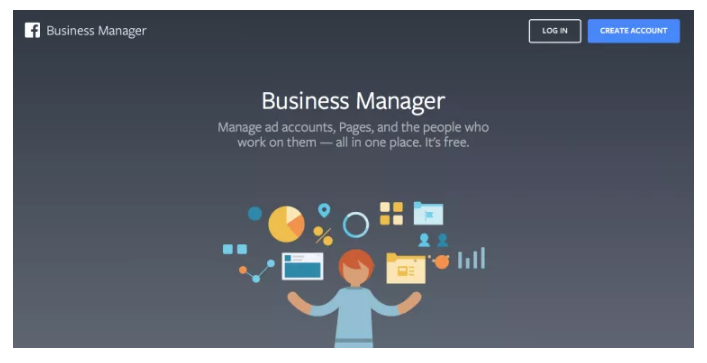
Create your Facebook Concern Manager Account
Start at https://business concern.facebook.com/and click on 'Create Account' to get started.
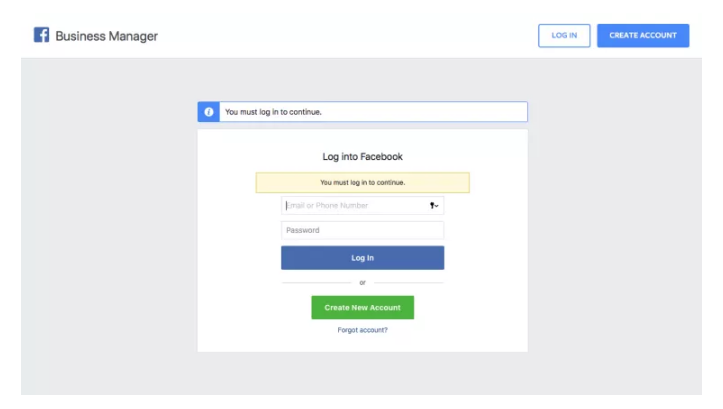
Log in to your Facebook Business relationship.
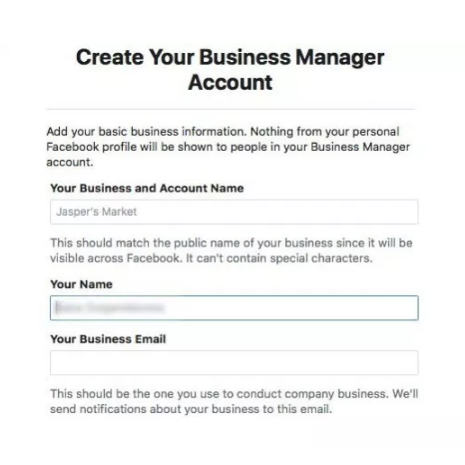
Create your Facebook Business organization Manager Business relationship past typing in your concern name, your name, and email address (business purposes ONLY).
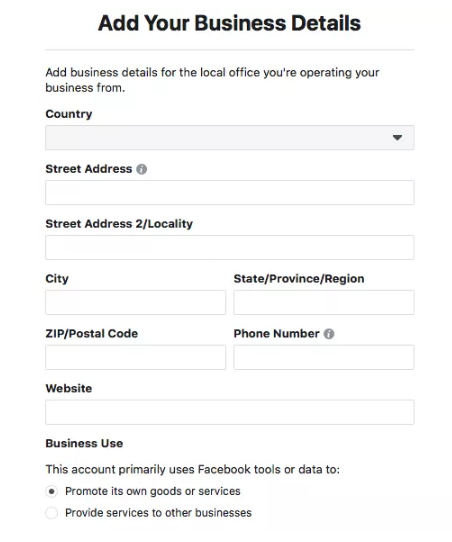
Add together your business details including your business concern address and website.
All set, you will be redirected to Concern Manager Dashboard. Click on Business Settings at the peak correct corner.
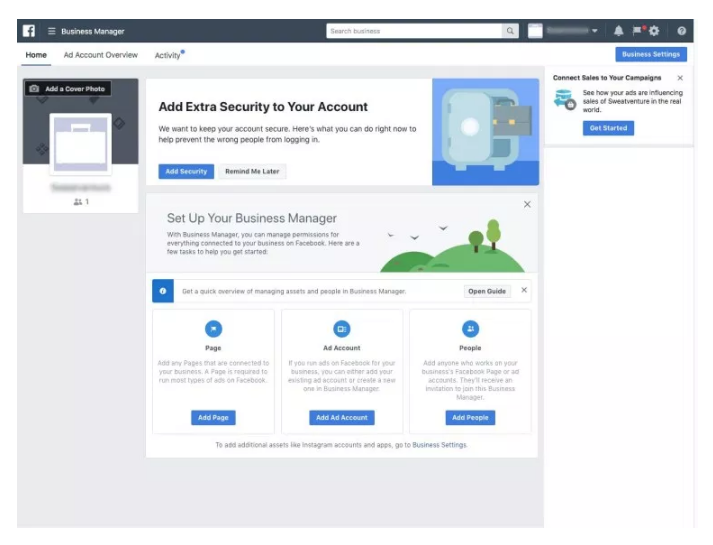
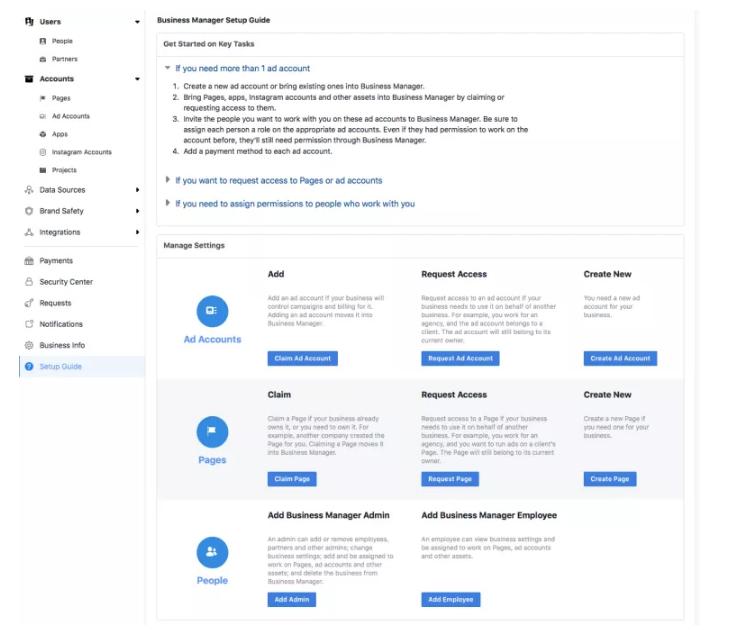
Click Setup Guide on the bottom-left side of the panel. Add accounts, pages or people. If you already have an established page, click on Claim and add your Folio Name or URL.
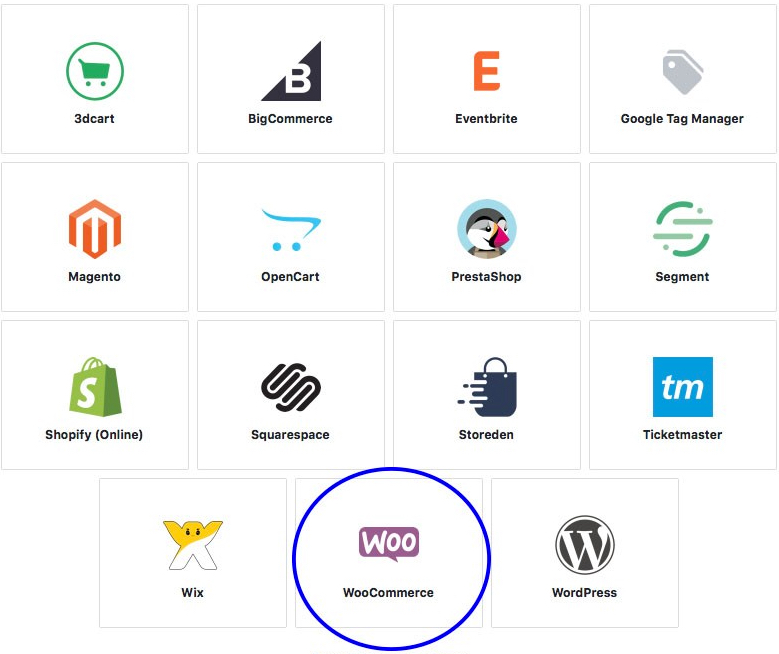
Integrate Pixels with Shopify and Woocommerce
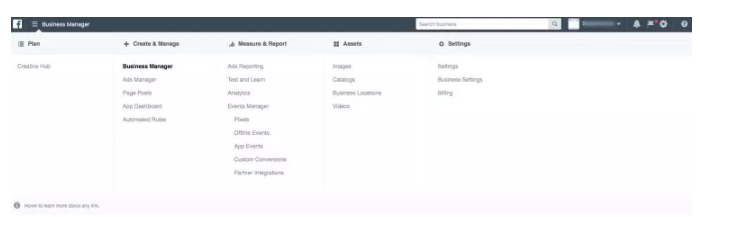
Click the three lines next to Facebook icon at the top-left corner to display your page carte.
In this dashboard carte du jour, locate Measure & Report and click on Pixels.
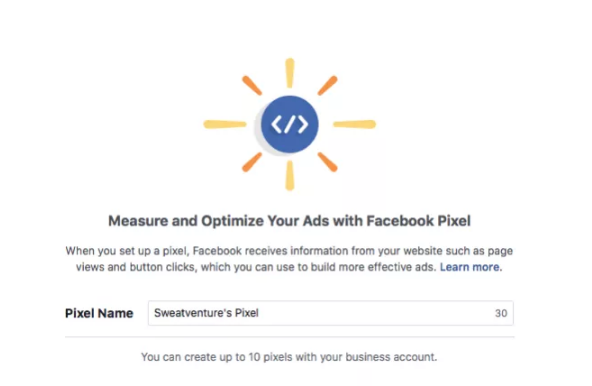
New window open. Click Create a pixel.
Proper name a pixel and click Create.
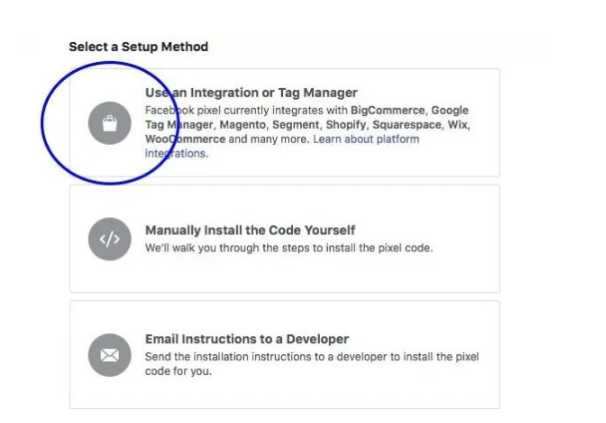
If yous are tech savvy, you tin manually install the lawmaking yourself.
For the purpose of this mail, lets all click on integrationor tag manager.
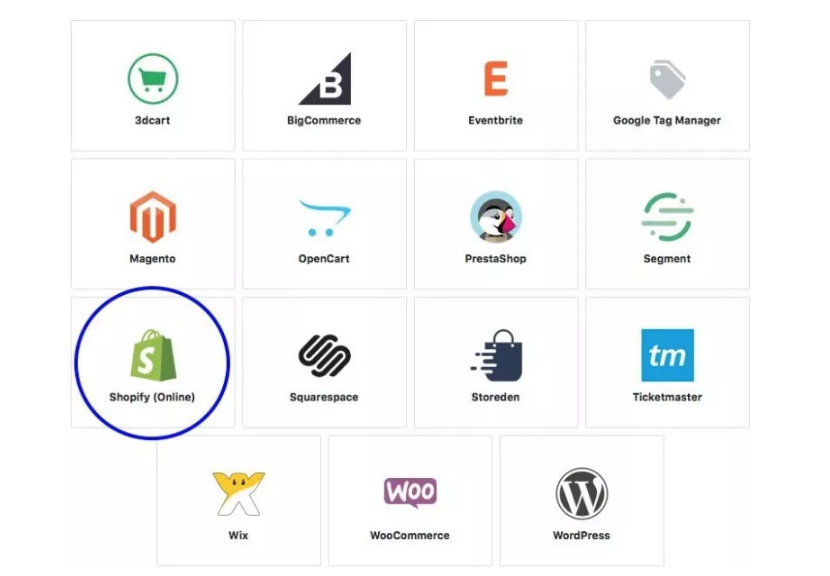
Shopify Integration
Click on Shopify (Online).
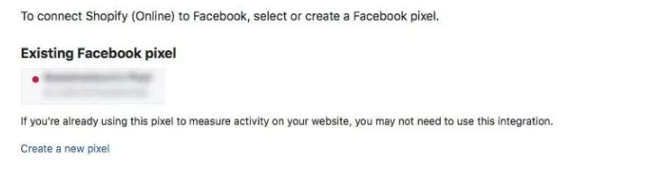
We have already created our pixel in the steps to a higher place, therefore you just have to select the existing Facebook pixel.
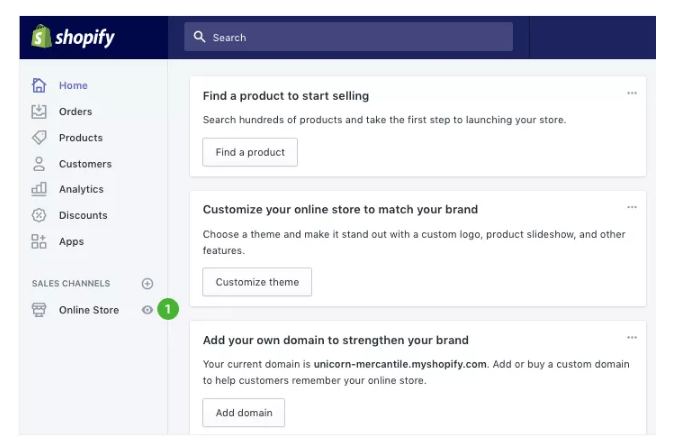
Log in to your Shopify business relationship and click Online Store.
Select Preferences. Re-create and paste your pixel ID under Facebook Pixel. Click Save.

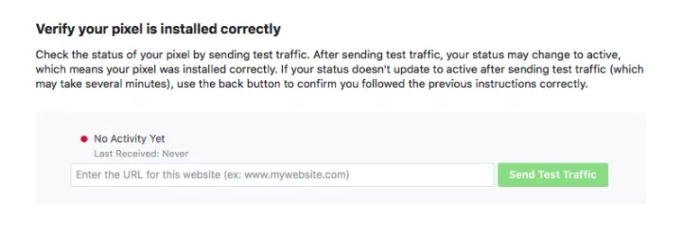
Verify if your pixel installed correctly. Happy tracking.
WooCommerce Integration
Click on WooCommerce.
Select your existing Facebook pixel or create a new 1.
![]()
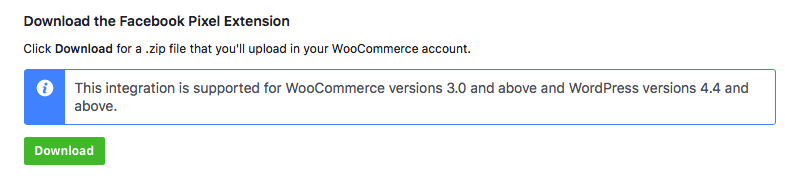
Click on the dark-green push to download the Facebook Pixel Extension.
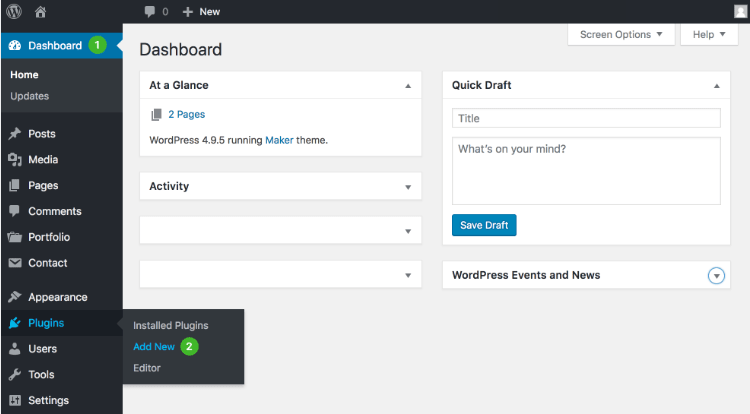
Log into your WordPress and go to Dashboard. Click on Plugins and Add New.
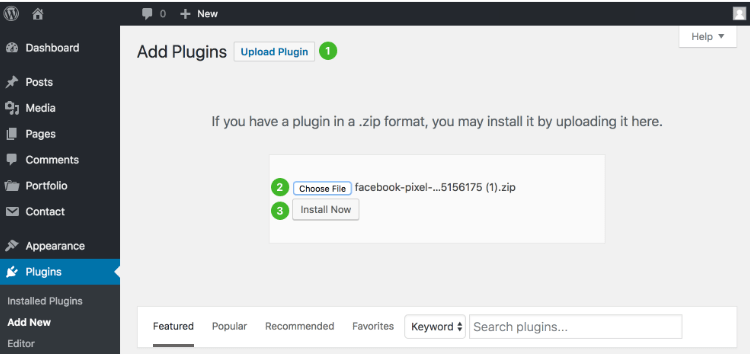
Click Upload Plugin. Click Choose File and select the downloaded cypher. file from the step above. Click Install Now.
Click Active Plugin. Happy marketing.
Advertising is a work in progress, sales don't happen overnight unless you go somewhat lucky.
Facebook Pixels tin track how many leads were generated from a particular Facebook entrada or how many products have y'all sold with the aid of your ads.
Sign up for Facebook Business Manager today.
PERSONALIZATION AVAILABLE
Source: https://customcat.com/go-getter-blog/facebook-ad-analytics-to-increase-your-roi/
0 Response to "How To Set Up Facebook Pixel On Shopify"
Post a Comment